

How To Add Vintage Texture In Photoshop
How to create vintage vector textures
Vintage and retro-style illustrations have made a big comeback over recent years, with designers utilising the features offered by Illustrator to achieve that handprinted, misaligned feel so common in '50s and '60s animation and illustration.
This was a pivotal period, and brought an entirely new visual vocabulary into the mainstream, with artists challenging the 'lifelike' cartoon forms of the time to adopt a sophisticated, stylised graphic language that has hugely influenced modern-day illustration.
The art of this era has a timeless appeal, with its distinct style, use of patterns and mark-making. In this tutorial, I outline some useful tips and techniques for creating your own vintage characters, while also explaining how to achieve a handprinted effect and use halftone patterns effectively.
Click here to download the support files (2.55MB)
01. Sketch ideas

Get out a pen and paper, and start sketching some loose ideas. For this particular illustration I've gone for a one-man-band style of character from the '60s. It always helps to reference individual elements - such as the instruments and uniform here - to inform your sketches. Remember that we're trying to create a character with a vintage aesthetic, so keep it simple and pay particular attention to your linework. Once you're happy, sketch out your final image ready to scan.
02. Scan your sketch
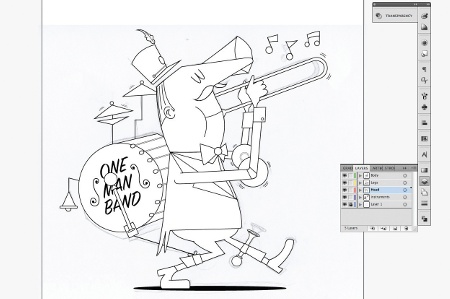
Scan your sketch and open a new document in Illustrator. Go to File>Place and insert the scanned image into the new document. Drop the Opacity to 50 per cent, create a new layer, and start the process of tracing out your image using the Pen tool. Make sure you create new layers for each section of your illustration - the head, body, instruments and so on.
03. Choose the colour palette
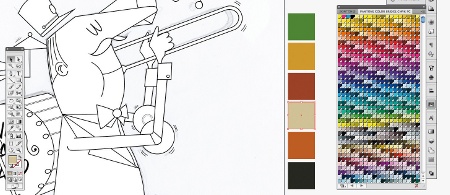
Once you've traced out your image, it's time to choose the colour palette. Selecting the right palette is essential in setting the mood and tone for your illustration. I've chosen a six-colour palette containing warm earth tones, which will help add a rustic feel to my character. You can either use the swatch libraries provided by Illustrator (Window>Swatch Libraries), or online resources such as Adobe Kuler.
04. Create a new swatch palette
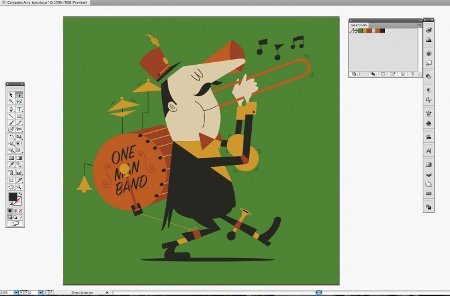
When you've selected your colours, create a new swatch palette by dragging your colour boxes into the palette. Fill the black and white image with colour, paying particular attention to the balance of colours, keeping them even. Don't apply any strokes for now - we'll come back to this later.
05. Start adding strokes
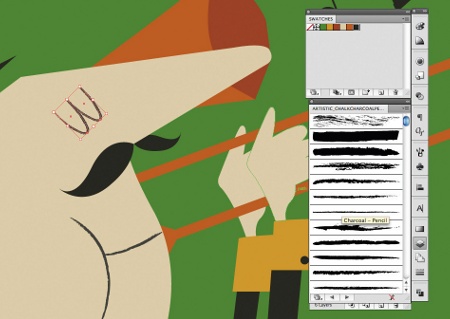
Now start adding strokes to some of your lines. To achieve the slightly worn, handprinted look we're after, utilise Illustrator's brush libraries. Go to Window>Brush Libraries> Artistic>Artistic Charcoal Pencil, and select a suitable brush. The aim is to achieve a good balance between solid-block colour and stroked objects, so be very selective about the elements you choose to apply the effect to.
06. Experiment
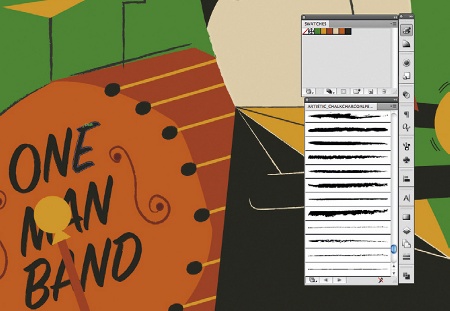
Experiment by applying new hand-drawn strokes over the top of some of your clean vector shapes to achieve the misaligned look that is reminiscent of early illustration styles. Once again, be selective about which elements you choose to apply your strokes to. Less is very often more when creating retro-looking characters.
07. Halftone patterns
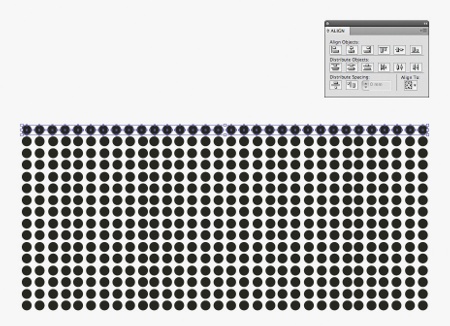
Another common trait of early character illustrations is the use of halftone patterns. The effect produced can be easily replicated in Illustrator. Using your Alignment tool (Shift+F7), create a series of dots, varying the density for lighter or darker areas. We're going to use this effect for the character's skin and shadow, as the technique works best on these kinds of areas.
08. Join the dots
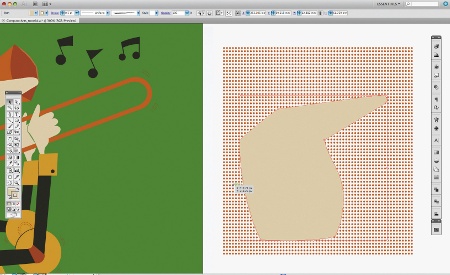
Select the character's head, hold down Alt/Opt, and drag the copy produced onto your dotted pattern. Group the dots together (Ctrl/Cmd+G) and, making sure your copied object is on top of the dots, select both objects and create a clipping mask (Ctrl/Cmd+7). This will give you a cut-out that you can drag back onto your character's head. You can play with the opacity of the dots if they appear too prominent. Now apply the same process to the hands and shadow.
09. Remove background colour layer
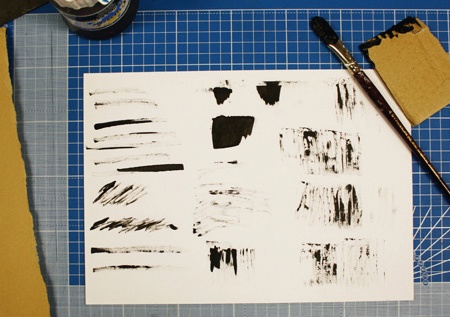
When you have all the colour and lines in place, remove your background colour layer. We are now going to apply some techniques to help give our character a worn, textured look. First up, using some black acrylic paint, make some marks on a piece of paper. Use brushes, pieces of card and so on to create scratchy marks on the paper. Wait for them to dry and scan them in.
10. Adjust the contrast
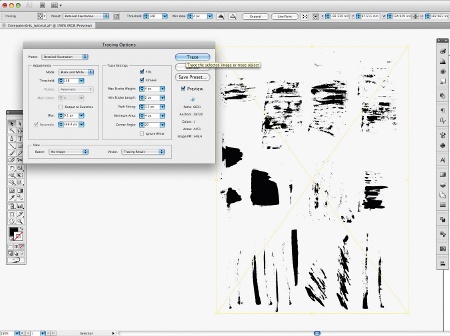
Open the textures in Photoshop, go to Image>Adjustments>Brightness/Contrast, and adjust the contrast so that the blacks appear darker. Click Save, and place them (File>Place) into your Illustrator file. Now go to Object>Live Trace>Tracing Options. With Preview ticked, change Preset to Detailed Illustration, and then hit Trace.
11. Edit the image

Your textures have now been converted to a vector. Next, go to Object>Expand to edit the image. Ungroup your object (Ctrl/Cmd+Shift+G) so that you can further edit the object. Change the object colour to white, select and copy it.
12. Overlay the textures
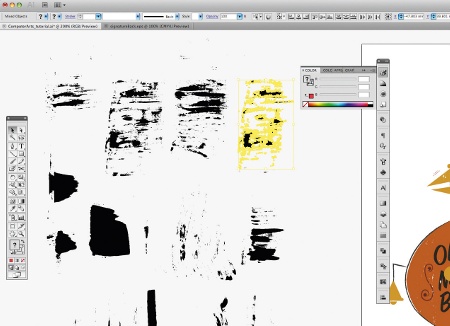
You can now go about overlaying the textures onto various parts of your character. Make sure that you paste the object onto the correct layer, and be subtle and selective with your application. It's easy to get carried away and apply too much. Remember that we are simply trying to achieve a handprinted feel for the illustration: applied correctly, this technique can be highly effective.
Words: Ben Steers
A freelance illustrator from Bristol in the UK, Ben's work is a mix-and-match of graphic styles. Clients include the Tate Modern, The Sunday Times and streetwear label Spunky Clothing.
Related articles
How To Add Vintage Texture In Photoshop
Source: https://www.creativebloq.com/adobe/vintage-vector-textures-5132647
Posted by: reidgropen.blogspot.com
0 Response to "How To Add Vintage Texture In Photoshop"
Post a Comment